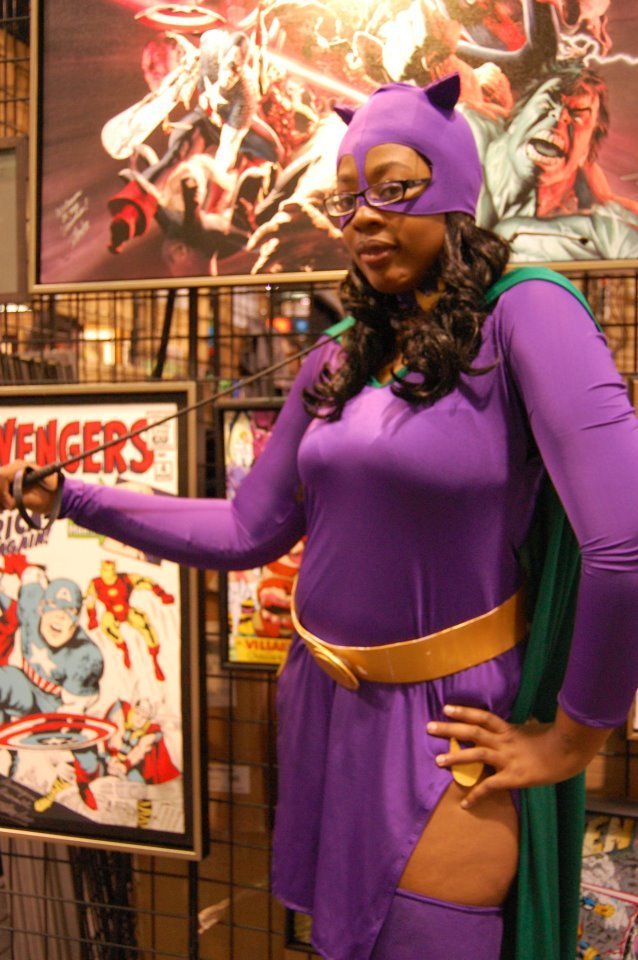
Did you want to add curls into your straight wig? Did you want the curls in your already curled wig to be tighter or styled differently than the ones already in your wig? This blog post breaks down how you can use hot water and curlers to manipulate your EpicCosplay wig to fit the style you need. If you’re interested in seeing the video that was made for this tutorial check it out here.
Note: This method only works on heat resistant wigs. If you are unsure of what kind of fibers your wig is made of contact the company you purchased it from to verify. Not all wig fibers will be able to handle the heat of boiling water. Kankelon fibers will melt and hot water will completely destroy a wig made out of kankelon fibers. Only utilize the steps in this tutorial if you’re sure that your wig is made with heat resistant fibers. All of EpicCosplay wigs are made from high quality heat resistant fibers and are created to withstand high temperatures from boiling water, hair straighteners, curlers, and hair dryers. As such, you can utilize a variety of tools and methods to style our wigs.
In order to use this method to style your heat resistant wig you will need:
- Heat resistant wig
- Wig head
- Pins to hold wig onto wig head
- Wig stand
- Hair Curlers (the wider the curler, the looser the curl).
- Aluminum Foil
- Hot Water (boiling)
- Bobby Pins
- Large Hair Clips
Before you work on the wig you will want to prepare your curlers. You can get regular plastic curlers from the dollar store. You will want to tear pieces of aluminum big enough to wrap around the hair curlers a few times. The aluminum serves to protect the wig fibers from getting tangled in the teeth of the curlers and protects the curlers from the heat. The stylist in the video used 30 curlers to fully get her look. Depending on the length of your wig and what kind of curls you want you may need more or less.
Start by anchoring your wig to a wig head with pins. Having your wig on a wig head will make it easier to style and putting the wig head on a stand will allow for more stability and make it easier for you to work around the wig.
After you have got your wig ready grab some large hair clips. You will use these to pull up sections of the wig and hold it up so that you can section lower layers to curl. You can work on doing sections from the top layers down to the bottom layers. I usually prefer going from bottom to top.
Bring up all wefts with the exception of the bottom two rows. After you have pinned all that hair up, grab 1” sections of hair and begin to wrap it around the curler. Be careful when you do this sectioning. If you curl too much hair around a curler the water won’t fully soak through in the later step and the wig won’t properly curl. After the section of fiber is curled around the curler and you’ve made your way to the wig cap pin the curler in place with your bobby pin. Finish the bottom section like that then pull the next two rows of wefts out from the wig and continue to section them off and put them into curlers. If this is a little confusing, please check out the video we linked earlier in this blog post.
After you have finished putting your wig in the curlers you will need to boil some water. Water that ranges in temperature from 180-200 degrees Fahrenheit works perfectly for this method. In case you don’t have a thermometer, it’s good to use the water just as it starts boiling. We recommend getting a medium saucepan and boiling two batches of water, dumping the water over the wig twice to ensure you get the wig fully saturated. When you pour the water over the wig be VERY careful to not burn your hands. While holding onto your wig head tilt it so that you can pour the water over the curlers into the sink and away from your hand. Cover all the hair in the curlers with the wig and make sure that it’s fully wet before putting it back up on your wig stand to let it dry.
Allow the wig to stand about 24 hours before you take out the curlers. If you take the curlers down while the wig is still wet the curls will not be as tight and will fall out. It will also be harder to brush wet curls. If you want to have your wig dry faster, blow dry it out with a hair dryer.
After the wig is dry all you need to do is remove the curlers and voila! You’ve got awesome curls! From there you can brush them out and arrange them to whatever style you need them for.
That’s our tutorial for how to curl EpicCosplay wigs with hot water! If you have any questions, feel free to contact us via email at epic@epiccosplay.com or post on our Facebook page and we’ll be happy to clarify! If you’re interested in looking at all the wigs we’ve got on sale check us out at our website, development.epiccosplay.com!
Posted by Epic Cosplay on Posted on


One Reply to “Tutorial: How to Curl an EpicCosplay wig with Hot Water”
Comments are closed.